
Kitchen Details and Sources
More about my kitchen progress and product sources!
You can see before pictures of the kitchen here, and the full reveal here.
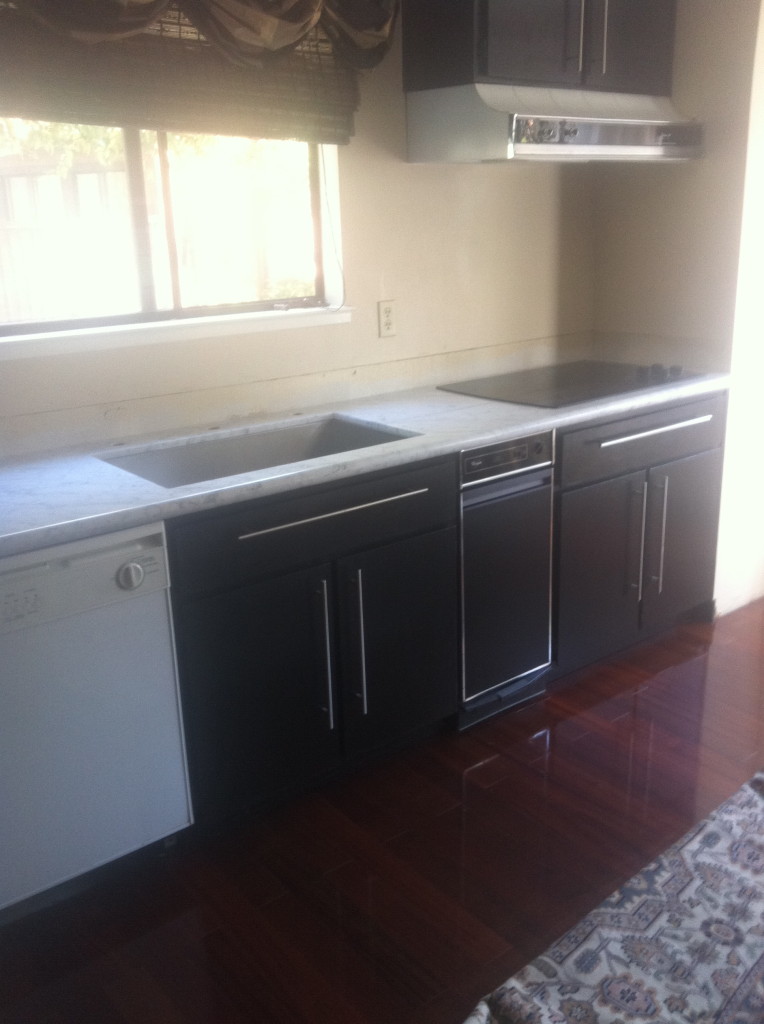
As I mentioned in the reveal, when we first moved in, there was so much that needed to be done to the house, we just couldn’t afford to put in new cabinets at that point. So we painted the old ones black using a Sherwin Williams paint color that I think was named “Ink”.
Paining cabinets is tricky, and I’m pretty sure that on our cabinets, underneath all the layers of paint, is wood veneer. To tell you the honest truth, painting these cabinets was not fun at all. There is so much prep and detail work that’s just not the most exciting part of a renovation. It was our only option at the time, but If you can swing it, I would save your pennies and either hire a professional painter or even wait until you can afford new cabinets.
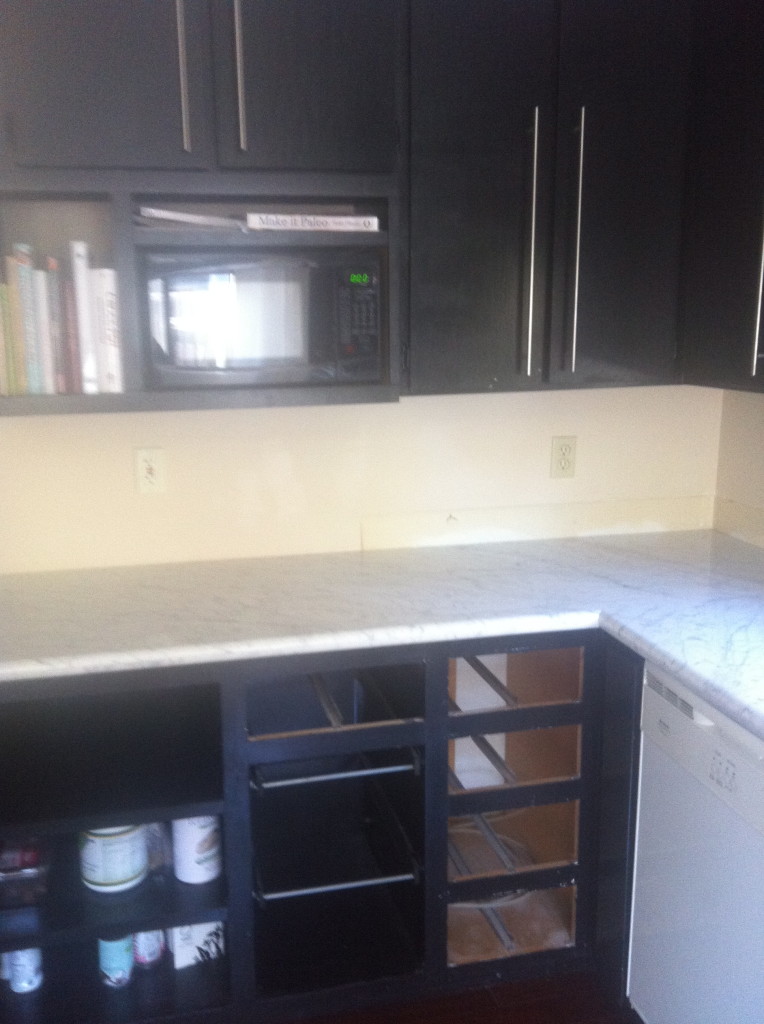
We added these handles and pulls from Lowes in various sizes, which I think totally changed the look of the kitchen.
New Counters Installed
 The counters are Carrera marble, but it was less expensive than Corian, or any other artificial stone surface because we bought prefabricated slabs! This means the edge (rounded or square) was already put on them, they are a pre-determined width, and they come in 8 or 9 foot long sections (I can’t remember which). You buy the number of pieces you need to fit your space, and the installers cut the hole for the sink and any other cuts needed to fit the counter tops on site when they are delivered. In fact, I think buying the pre-fabricated slabs was less that 1/4 of the cost of any other option.
How do I like the marble? I love it. I think it’s beautiful, and I love that it was the least expensive stone option for us. On the negative side, it does stain and chip really easily. When it first went in, I freaked out over every drip of liquid left on the surface. While it still irritates me, you get to the point when you realize that you just can’t live like that anymore. So, I’ve come to (partially) accept it. I read an article once that said the Italians think stains and scratches add character to the marble. I’m going with that outlook.
Putting In the Backsplash
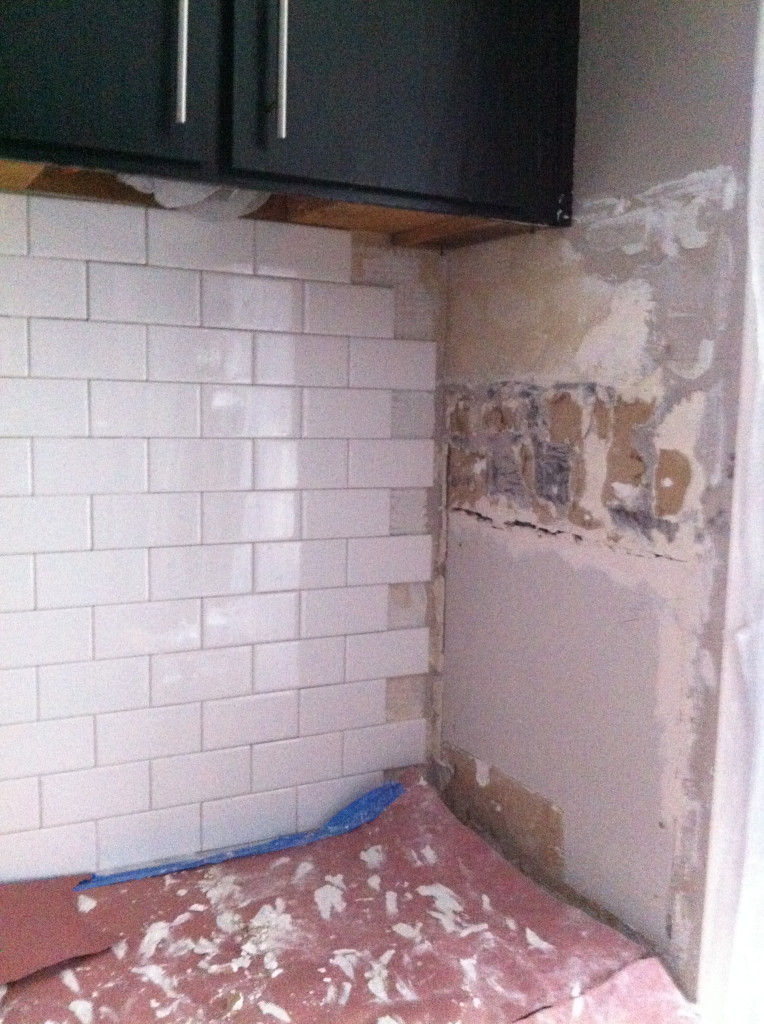
I wanted the backsplash to be classic, go with any design style, and most importantly, be inexpensive. We found all those things in simple, white subway tile. We used the white subway tile from Home Depot. $.22 per tile?! Cant beat that.
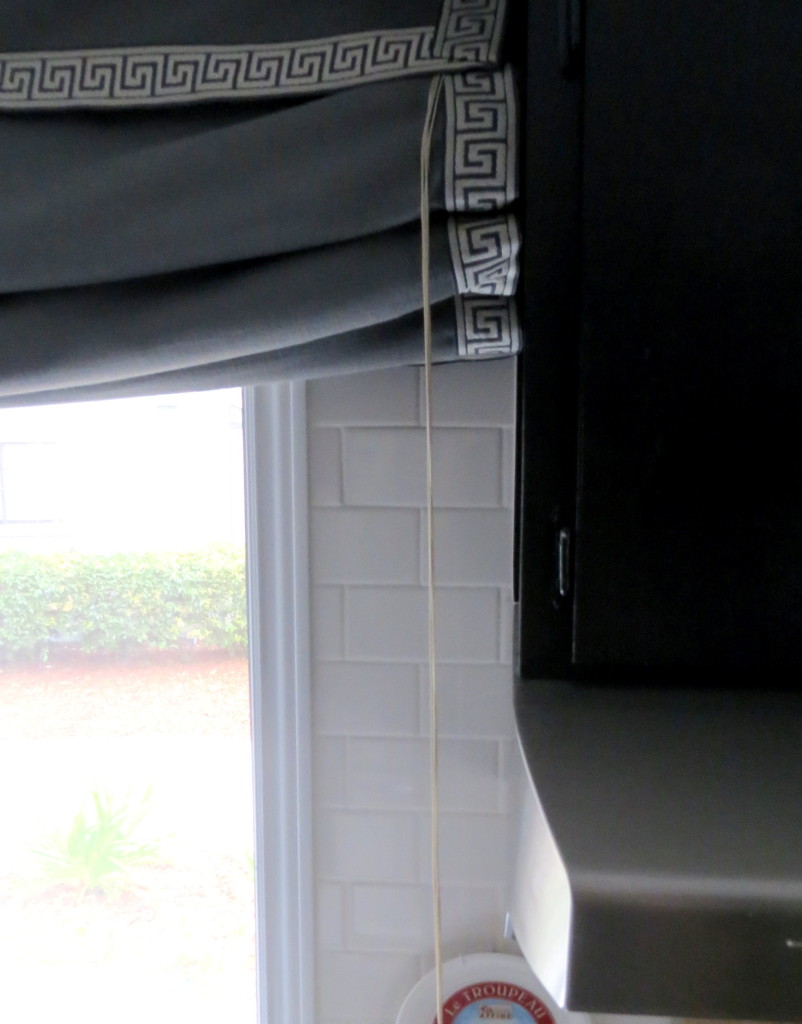 For the roman shade, I bought an inexpensive shade from JC Penney (they were the only ones that had the size I needed!), and covered it with this Nate Berkus fabric from Fabric.com, and glued greek key trim from M & J Trimming around the boarder. The Nate Berkus fabric is amazing. It’s super thick and textured. I was surprised at the quality of it actually. But I would say it’s worth the price.

I love this little nook! I still need to get a circular table so that we can get in and out of there easily. The benches are like these from Wayfair (mine are a different pattern, but it looks like these are the only ones that are still available). I just made slipcovers from white cotton duck fabric and pillow covers for the long pillows with this striped fabric from Ikea.
The drapes are from Bed Bath and Beyond, but I don’t see them on their website. They are a little pricey, so I waited for a sale and then used one of those 20% off coupons that always show up in the mailbox for each one. I used four panels, two on each side.
The sconces are mounted between each panel so that it looks like they are coming from between the drapes. They are from Restoration Hardware, and I bought them during one of their lighting sales.
I painted the black and white art myself. I wanted to hang it in front of the shades, but I still needed to move the shades up and down without knocking the art off every time, so I used these picture frame risers from Pottery Barn. I did a post about the other artwork in the kitchen here.
Let me know in the comments if you have any questions!
ooox,
Nicole


2 Comments